After installing the CodeMeterApplication you will need to install the most up to date release of MySQL Server.
You can download this from http://dev.mysql.com/downloads/mysql/
Before you install MySQL make sure you turn off any 'On Access' scanning within your anti-virus software.
Also, if you have the Sophos Anti-Virus then you need to make sure that Web Intelligence Service is DISABLED.
This particular service blocks the program and if it is running at any time it will cause the program to stop working.
This can causes issues within the installation.
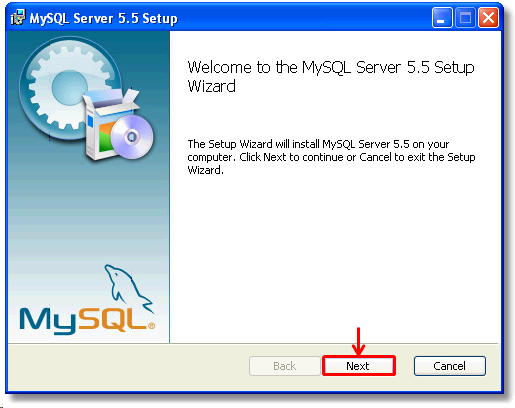
In order to begin the installation first click the next button in the executable installation file.
Before you can install MySQL you need to agree to the End-User License Agreement (EULA).
Once you have reviewed the EULA, click on the tickbox to agree to the terms and then click on the Next button:

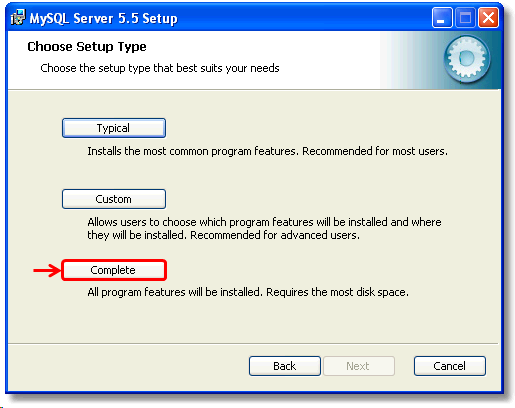
Next, choose the appropriate setup type. For this installation, the Complete option was selected:
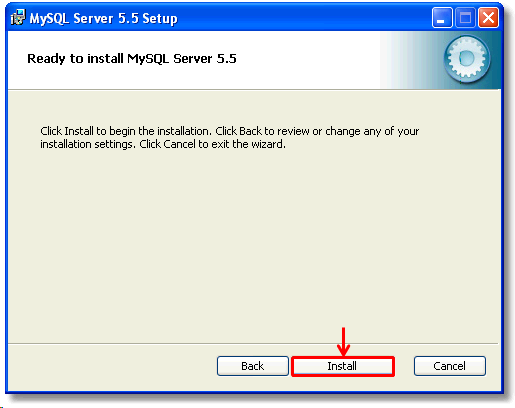
To begin the installation, click the Install button:
The setup will then install MySQL Server onto your computer:
After the install has completed, a couple of windows will appear offering information on MySQL.
Click next on these windows until the next installation process appears:
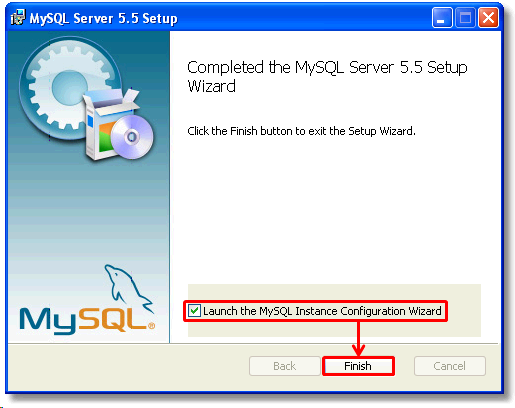
You can choose to setup the server either now or later on.
If you intend on using the software straight away, configuring the server is required.
To do this, select the given tickbox and click finish:
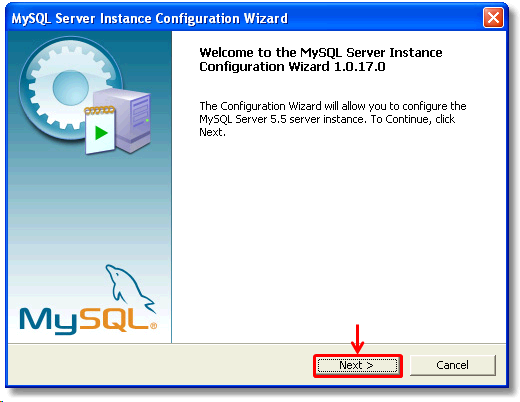
Click next to begin the configuration:
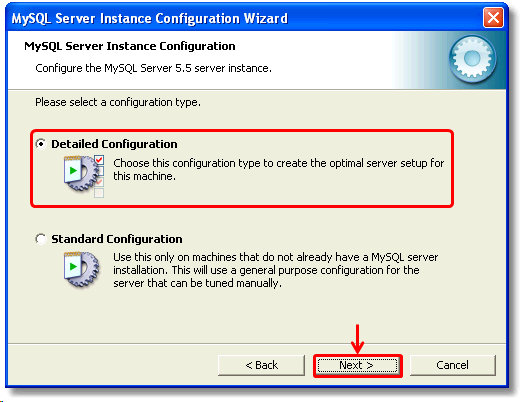
You can choose either a Detailed configuration or a Standard configuration.
As this computer does not already have a MySQL Server installation, the Detailed configuration option should be selected:
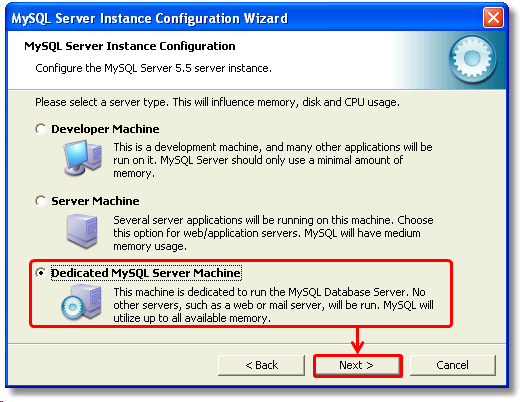
The next step of the configuration requires you to select the server type.
This computer will be the MySQL Database server so the Dedicated MySQL Server Machine option is selected:
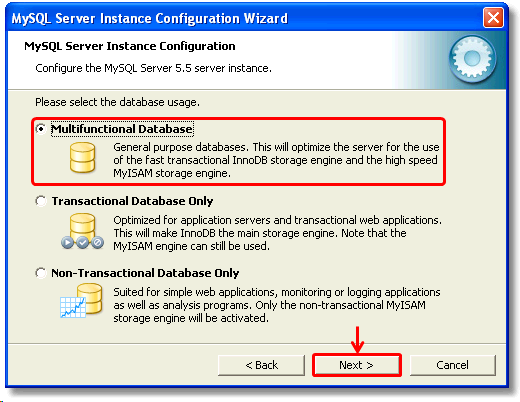
The next step in the server configuration is selecting the database usage.
This optimizes the server to suit the need of the server. In this instance a Multifunctional Database is required:
You are now required to select a space on a hard drive in which the InnoDB datafile can be place and stored.
You can leave these settings as default, but here the C:\InnoDB\ folder has been selected:

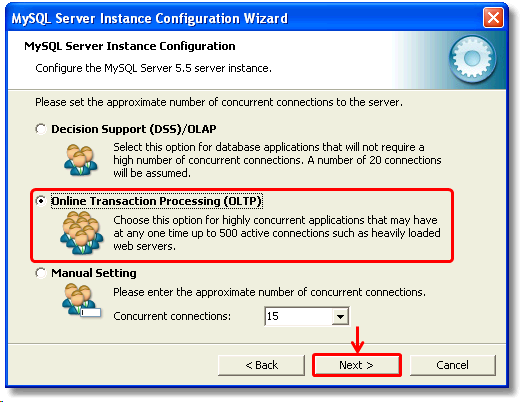
The next part of the configuration allows you to set the approximate number of connections to the server.
The option selected is Online Transaction Processing OLTP as the computer will have many active connections.
If you do not require as many connections you can select one of the two other options.
The next options to be configured are the networking settings.
This computer uses TCP/IP so the option is enabled.
The default port is 3306 and this may need to be added to the firewall as an exception.
It is also recommended that Strict Mode is enabled. This forces the computer to act more like a traditional database server:

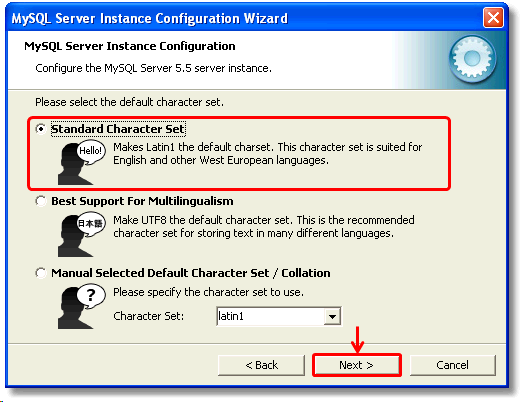
The next step is to select the default character set. Most computers use the standard option provided:
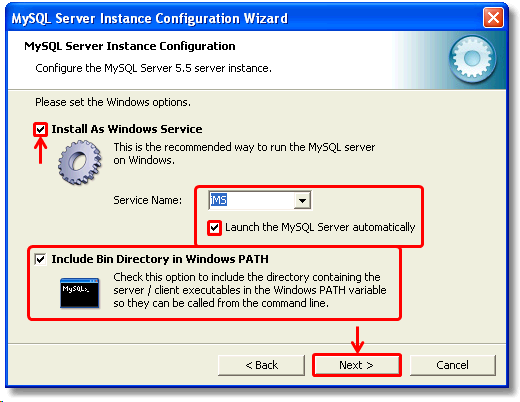
It is also recommended that MySQL is installed as a service.
You can choose to name the service as well as set MySQL to load automatically upon loading the computer.
It is also recommended that the Bin Directory is included in Windows PATH:
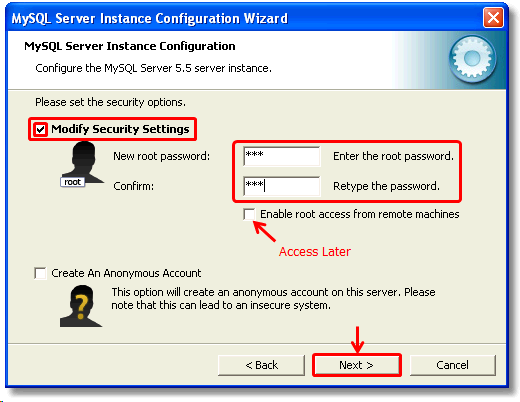
The root password is very important and should not be forgotten.
You MUST have a password AND you MUST remember it.
You set it on the next step by enabling the Modify Security Settings box.
It is not recommended that the Anonymous Account options are selected unless the configuration is to be completed at a later point.
Enabling root access from remote machines at this point will cause the setup to crash. You can choose to enable it after the setup is complete.
To enable root access please see the MySQL Workbench Installation guide:
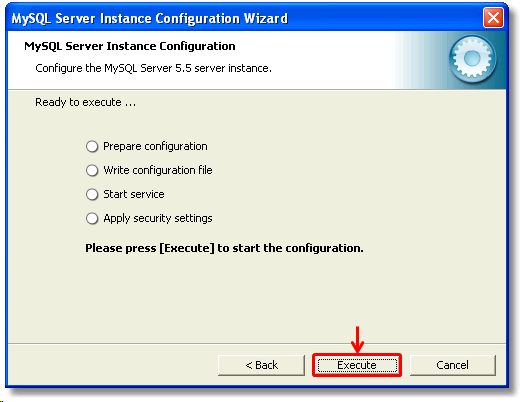
Click on the Execute button to begin the configuration installation:
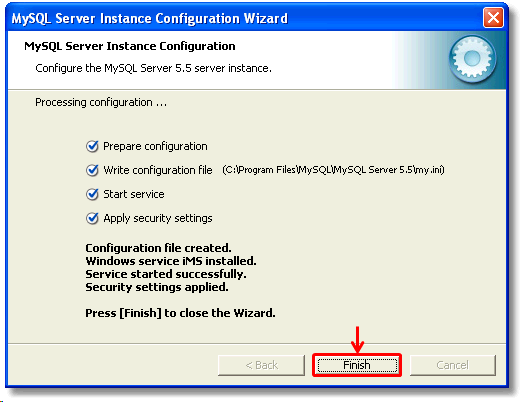
Click the finish button to finish and close the setup:
Now that you have completed this, you need to enable root access from remote machines.
Before you can do this, you will need to install the MySQL Workbench GUI.
After you have completed this step you can locate a MySQL Workbench Server Instance Configuration Wizard on the start menu.
This will allow you to repeat the above steps and apply the setting.