|
Exchequer Data Ranges (Important) |
  
|
|
Exchequer Data Ranges (Important) |
|
It is vital to set up your Data Ranges before running a synchronisation.
These steps also feature the selection of your Exchequer version and settings, which are fundamental configurations necessary for the application for work.
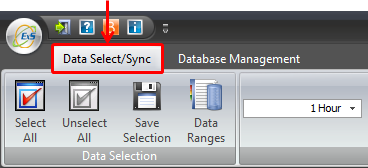
To set up Data Ranges, first click the Data Select/Sync tab at the top of the application.
You now need to connect to PSQL. To do this, click the 'Connect PSQL' button
Note that Data Ranges will only be enabled when connected to PSQL but not to SQL, connection to both will disable the button.

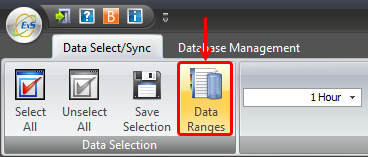
Click the Data Ranges button to open the Exchequer Data Configuration:
In the Exchequer Data Configuration window you will see a number of tabs:
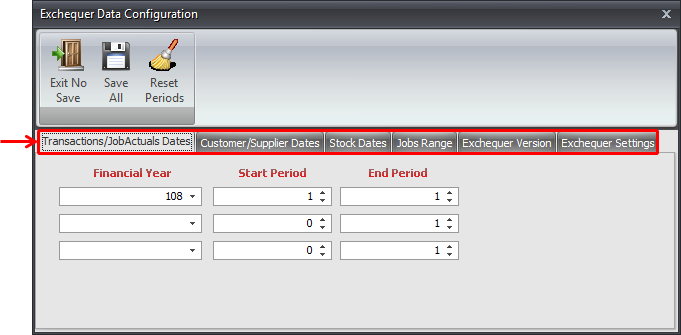
These settings have to be set before you can run a synchronisation.
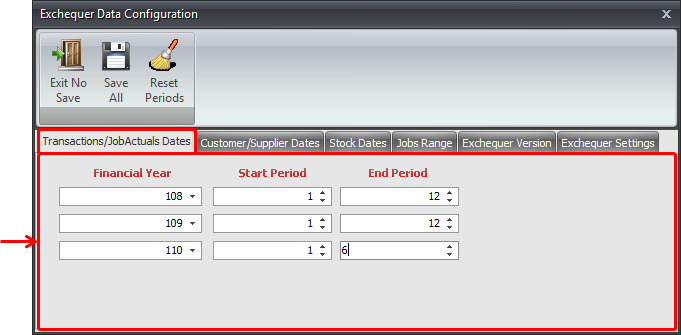
The first tab lets you set which Exchequer periods and Financial years for which to synchronise from the Transactions / JobActuals table:
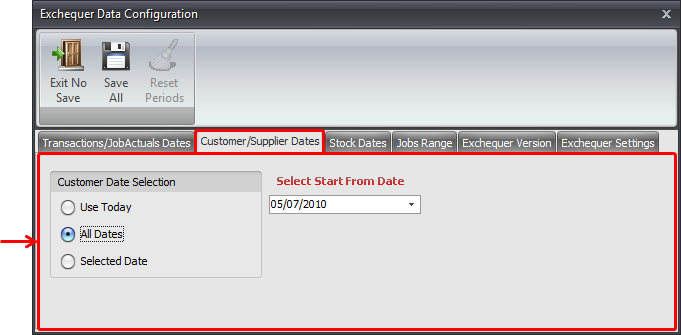
Next, is the Customer/Supplier Dates tab.
This allows you to set a specific date or all dates. Once you have synchronised for the first time this allows updates as opposed to complete synchronisations of the tables.
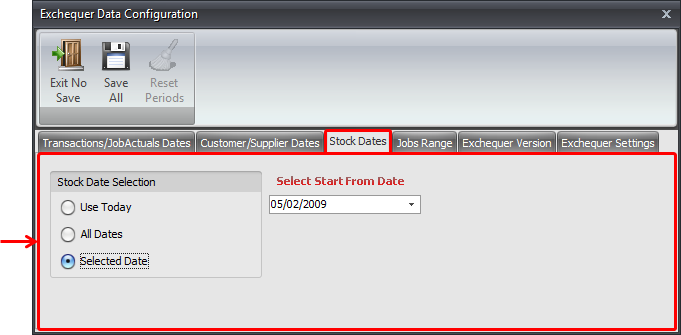
This is the same for the next tab; stock tables:
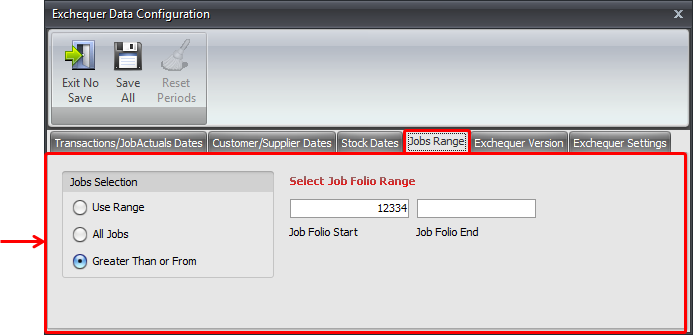
The is also the same for the Job Range tab, it allows you to set the begin and end Job Folio as opposed to date.
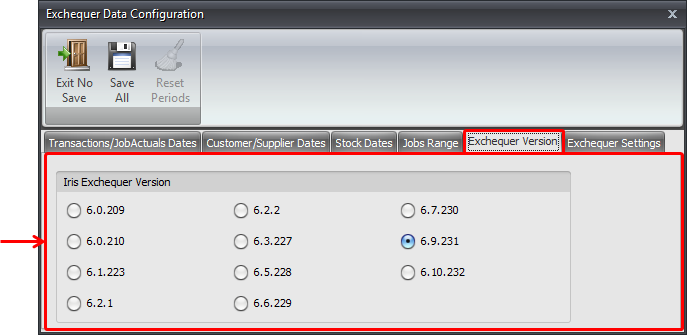
The next tab is for your Exchequer Version. It is vital that your restart ExSync after setting this configuration as you will receive errors:
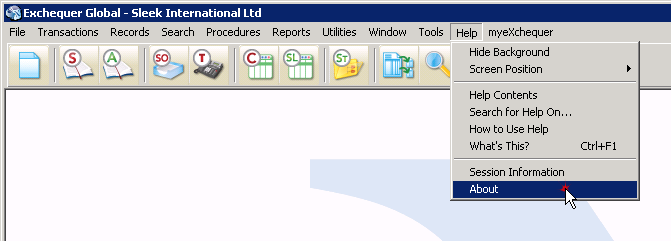
To find your Exchequer version, open Exchequer, click Help and then About as shown below:
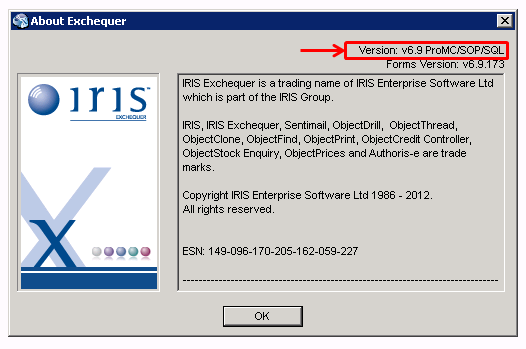
You can find the Version in the top right of the window that opens:
It is vital that your restart ExSync after setting this configuration as you will receive errors.
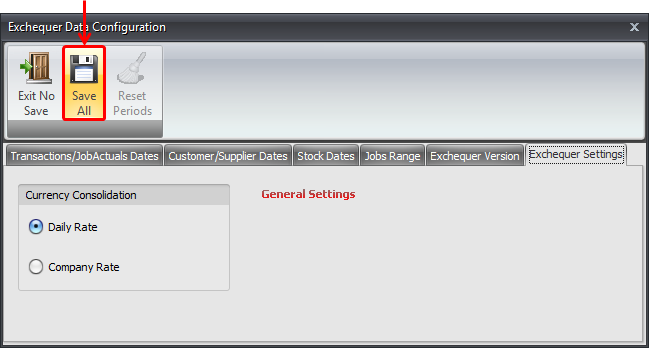
The last setting in this window is for the Exchequer Settings.
This is where you set your currency consolidation. (I.E, company or daily rate.)
Once you have set this, click the Save All button. You can then close the window.