Once you have installed MySQL Workbench you will need to install the ExWeb schemas.
Note: You will need to install ExWeb before you do this in order to locate the schemas.
At the end of the previous installation, the new connection appeared upon opening the Workbench.
Double click on the connection:
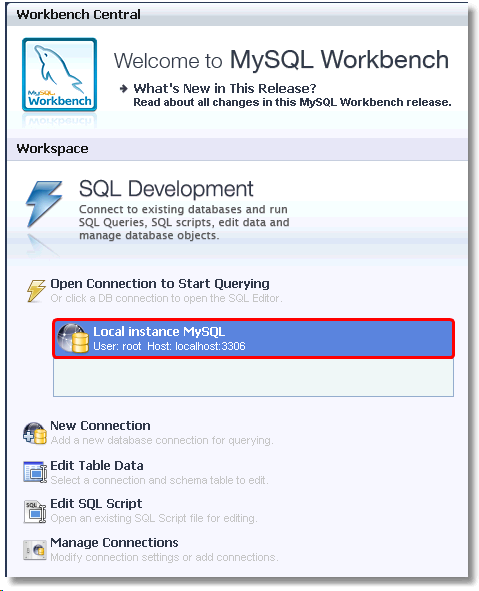
This will bring up the SQL Editor.
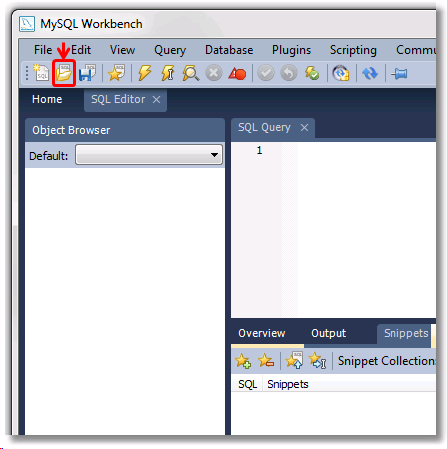
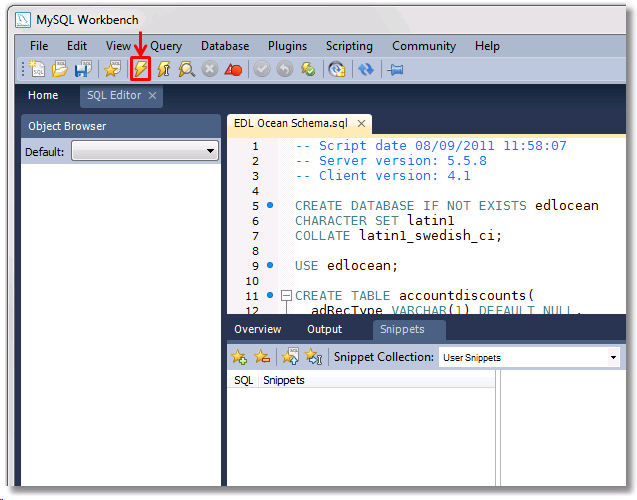
From this page we want to load the schema. We do this by either clicking File > Open SQL Script ...
Or by clicking the Open SQL Script button shown below:
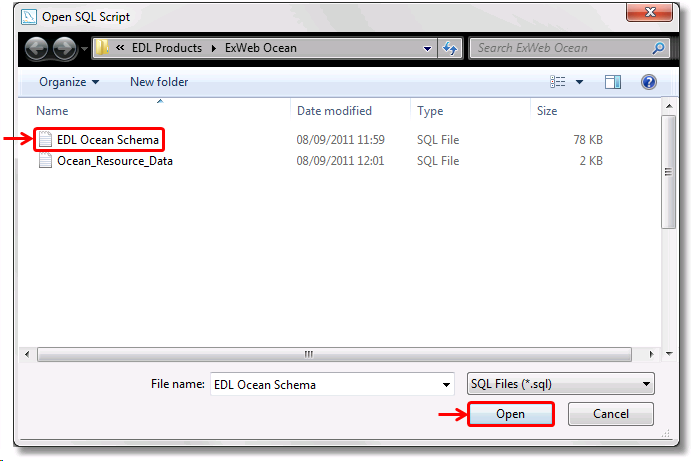
Now you have to locate the MySQL schema on your selected drive. The ExWeb installation should install the schema in the program root folder.
(The default location is C:\Program Files\Exchequer Dynamics\ExWeb Ocean\SQL Schema).
You should note now that there are two schemas.
The first one you need to select is the 'EDL Ocean Schema.sql' file.
Click on the file and then click Open:
You will see that the schema has loaded by the appearance of text to the picture below:
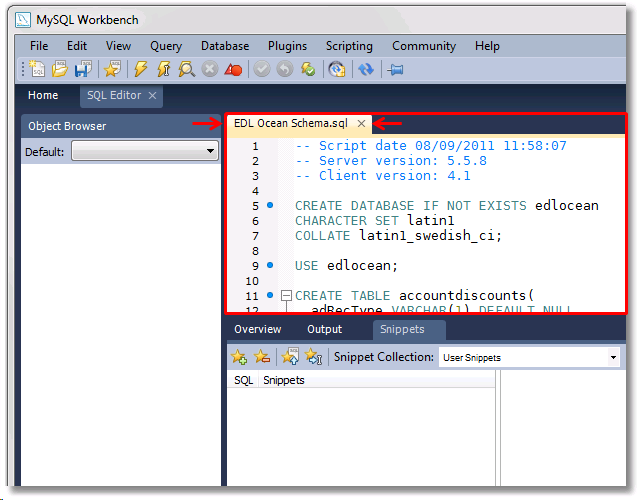
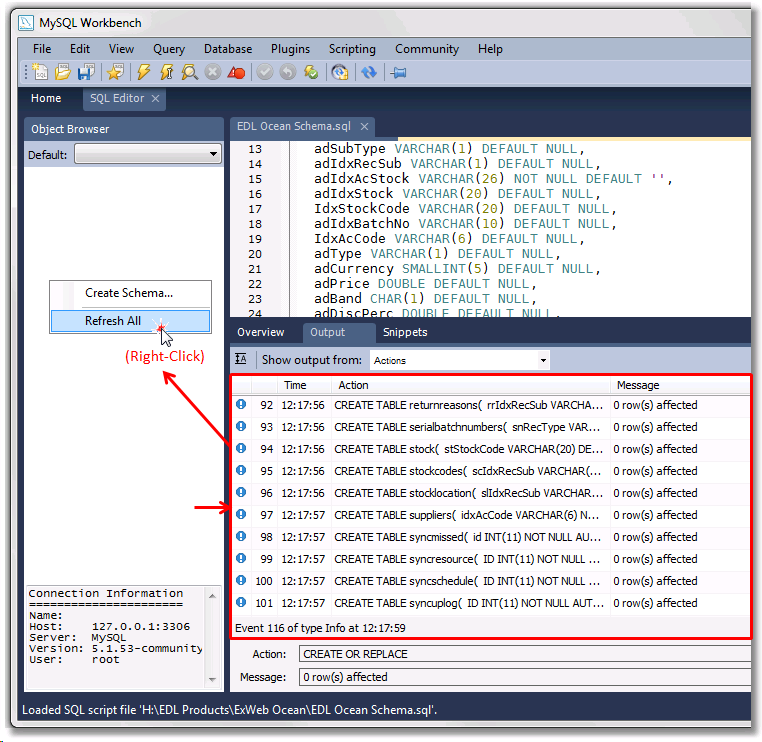
Once the schema has appeared as above, click on the Execute SQL Script on connected server button on the toolbar shown below:
After you have completed this step the installation of the schema is complete.
If the process was completed correctly then the appropriate code will show in the output (as shown in a red box below):
Refresh the object browser on the left by right-clicking anywhere in the white region and click the 'Refresh All' option.
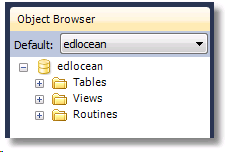
This will add a item to the left named 'edlocean'.
After the refresh the object browser on the left should appear as such:
Now you have to repeat the whole process except this time you have to select the other schema; 'Ocean_Resource_Data.sql':

Once you have done this you can close the MySQL Workbench.
If you would like to check that the second schema has been installed, you can refresh the browser again as shown earlier:
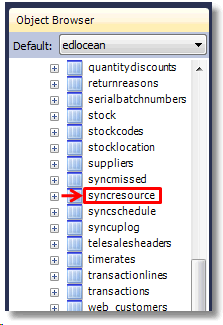
Then, expand the tables column on the left-hand side under edlocean:
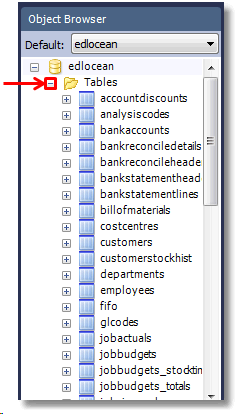
Now, if you scroll down you will notice a new 'syncresource' table.
If this table appears the schema has installed correctly:
You can now close the workbench.